


Installation guides
Mosaics
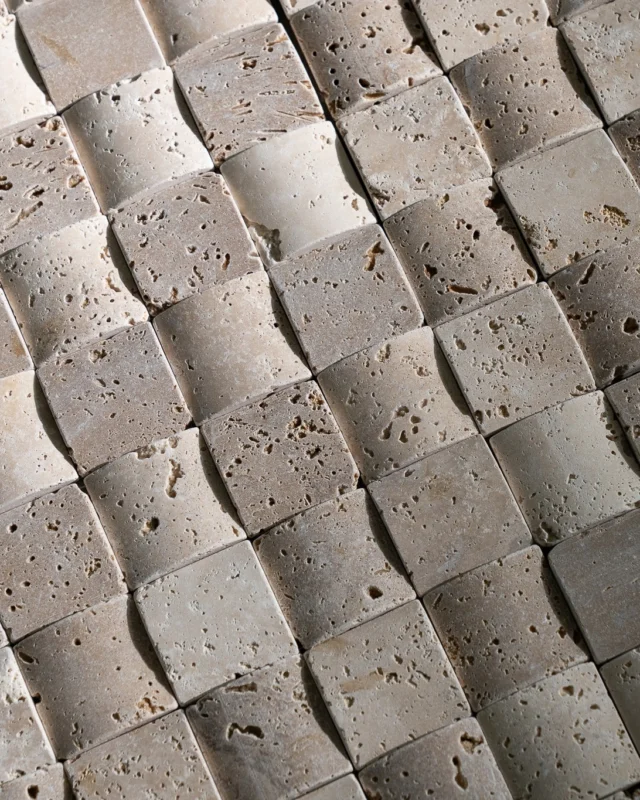
Mosaic is made from pieces of stone flexibly bonded to a mesh backing. Slate, marble, travertine, and onyx are used, with component stones in various sizes, shapes, and colors. Thanks to its flexible installation, mosaic can be used on curved surfaces. Checking that the substrate meets requirements is essential, especially for curved cladding.
Installation is done with adhesive, with or without joints. Here are the installation steps:
turn off power to the area where the mosaic will be installed, and remove outlet and switch covers
prepare the installation surface, which must be smooth, clean, dry, and able to bond well
protect adjacent surfaces with protective film
draw a vertical line at the center of the installation area and a horizontal one to set the position of the first tile. Installation is done relative to the vertical mark
if the mosaic-clad surface doesn’t span the whole wall, end profiles are installed at its edge
start installation using a 5-6 mm triangular-notched trowel. Apply adhesive to the wall, holding the trowel at 45 degrees and moving it in one direction
place the first tile on the wall, set its position, and press it gently into the adhesive; a rubber mallet can be used if needed. The adhesive will push through the joints via the mesh on the back.
install the second tile, working from center to edge, separated with spacers
check flatness and tile alignment with a level
measure and cut tiles to work around outlets and switches
cut individual mosaic pieces to complete a row
once cladding is finished, wipe the surface with a damp sponge, then seal it
let it dry for 1-2 days
remove the spacers and clean the mosaic with a damp sponge
apply grout using a rubber trowel, at a 45-degree angle
remove excess grout
clean the surface with a lightly damp sponge, working diagonally across the mosaic tiles
after 24 hours, apply sealant to the joints